
Editing is a crucial part of making high-quality YouTube videos. A well-edited video keeps viewers engaged, improves storytelling, and increases watch time—helping your content rank better. Whether you’re a beginner or an experienced creator, this guide will show you how to edit like a pro using both free and paid tools.
Step 1: Choose the Right Video Editing Software
Your editing tool plays a big role in how professional your videos look. Here are some top free and paid options:
Free Video Editing Software
- DaVinci Resolve – A powerful editor with advanced features like color grading and motion graphics.
- CapCut (Desktop & Mobile) – Easy-to-use, perfect for quick edits and viral content.
- HitFilm Express – Great for beginners and includes professional VFX tools.
- iMovie (Mac) – Simple and user-friendly for basic video edits.
- OpenShot – Open-source software with essential editing tools.
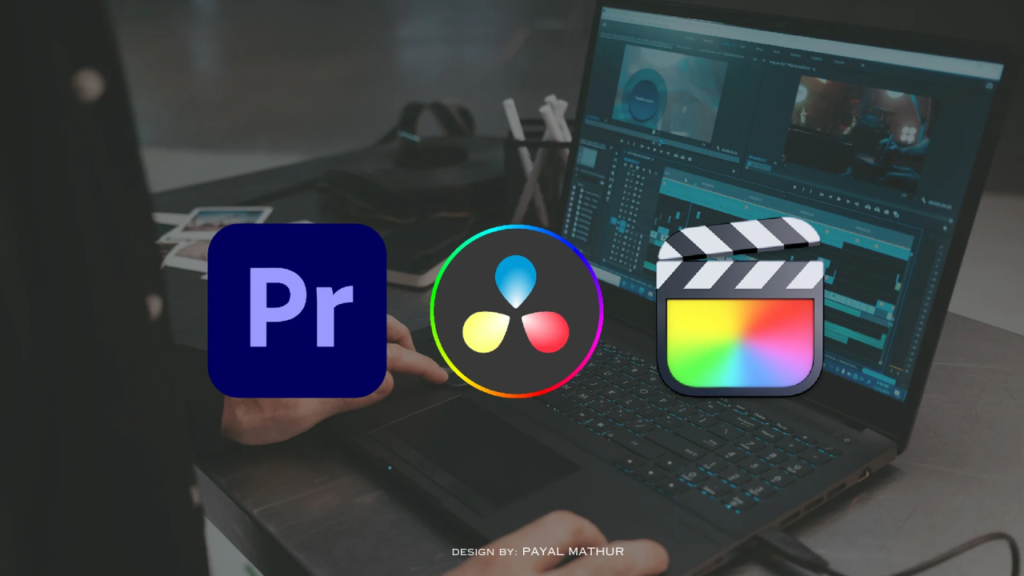
Paid Video Editing Software
- Adobe Premiere Pro ($20.99/month) – The industry standard for professional YouTubers.
- Final Cut Pro ($299 one-time) – A high-performance editor for Mac users.
- Filmora ($49.99/year) – Easy to use with built-in effects and templates.
- Sony Vegas Pro ($249 one-time) – A great balance between power and simplicity.
Choose software based on your budget and skill level.
Step 2: Organize Your Files for Faster Editing
Before you start editing, organize your video clips, audio files, and graphics. This helps you edit faster and keeps your project neat. Here’s how:
- Create folders for raw footage, music, sound effects, and graphics.
- Rename files clearly (e.g., “Intro_Shot1.mp4” instead of “VID_12345.mp4”).
- Use a fast external SSD for storing large video files.
Step 3: Trim and Cut to Keep It Engaging
The first 10 seconds of your video are the most important. To keep viewers hooked:
- Cut out unnecessary pauses and filler words.
- Use jump cuts to keep the pacing fast.
- Add zoom-in effects on key moments for emphasis.
Step 4: Enhance with Music and Sound Effects
Background music and sound effects make your videos more engaging. Here’s where to find them:
- Free music: YouTube Audio Library, Free Music Archive
- Paid music: Epidemic Sound, Artlist
- Sound effects: Freesound.org, SoundSnap
Make sure the audio is balanced so music doesn’t overpower your voice.
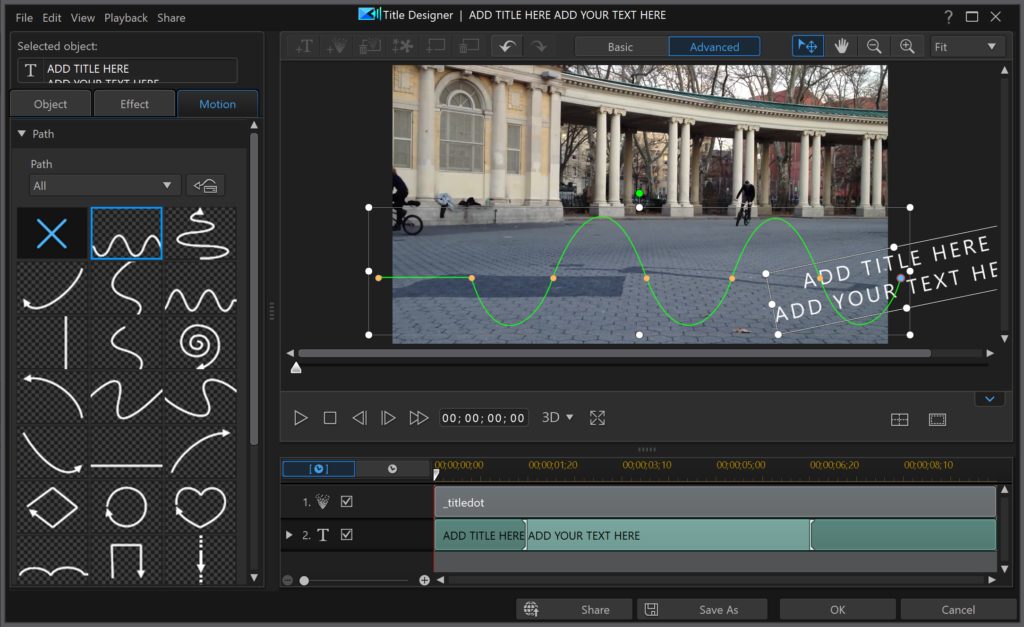
Step 5: Add Text, Graphics, and Effects
Text and graphics improve storytelling. To make your videos more engaging:
- Use animated text for intros and highlights (CapCut and Premiere Pro have built-in text effects).
- Add lower-thirds for names and social media handles.
- Use overlays and transitions to keep the video smooth.
Step 6: Color Correct and Enhance Visuals
Professional YouTubers use color correction to make their videos look cinematic.
- Adjust brightness, contrast, and saturation to make colors pop.
- Use LUTs (Look-Up Tables) for a consistent color style.
- DaVinci Resolve is great for color grading, even in its free version.
Step 7: Export in the Best Quality
For the best results, use these export settings:
- Resolution: 1080p or 4K
- Frame rate: 24-60 FPS (depending on your footage)
- Bitrate: 10-20 Mbps for 1080p, 30-50 Mbps for 4K
- Format: MP4 (H.264 codec for best compression)
Final Thoughts
Editing like a pro takes practice, but the right tools and techniques make it easier. Use fast cuts, add engaging effects, balance your audio, and color-grade your footage. Whether you’re using free or paid software, a polished edit will make your YouTube videos stand out and attract more viewers!


")

